How to build a wire bonsai tree
If you enjoy plants and greenery in your home but can’t keep them alive, then this is the craft for you!
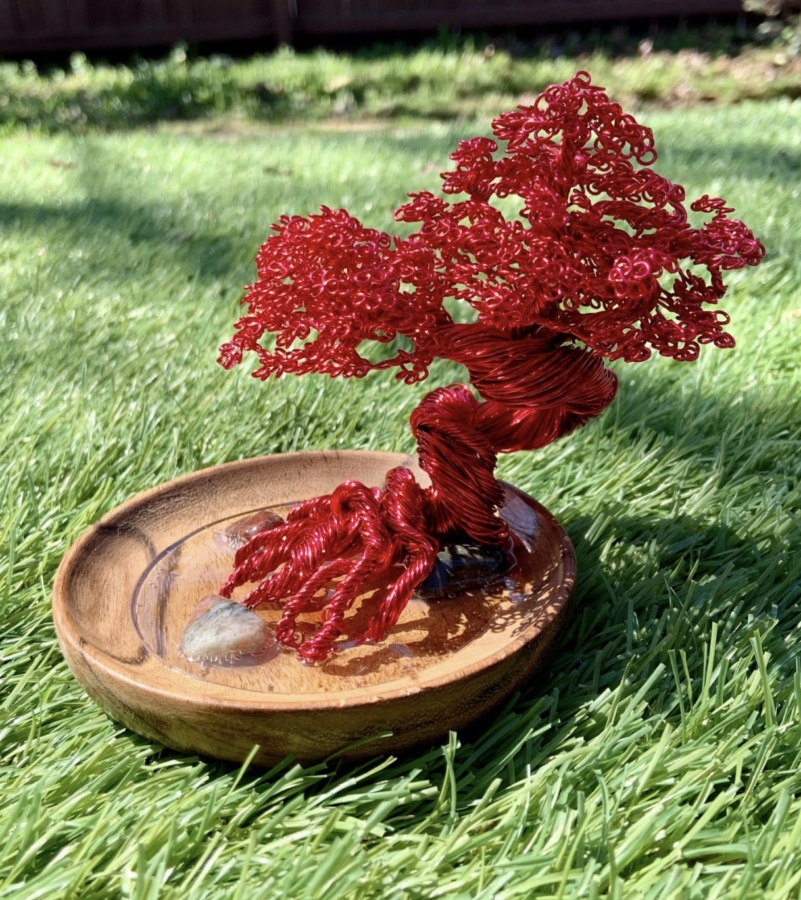
I’ve been creating these for a while now and have figured out the most effective and simple way to make them. They take anywhere from a couple of hours to a few days (depending on the size), a little bit of creativity, and very little supplies. In order to create one of these trees you will only need three things, but if you want to get fancy you’ll need a lot more.
Here’s what you’ll need:
- Round nose pliers
- Wire
- Wire cutters
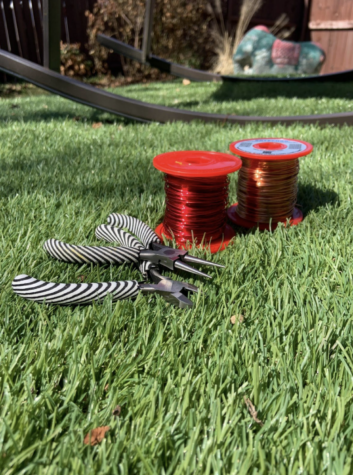
If you want to and add some extra flair (optional), you will need:
- Cut resistant gloves with grips
- Base optional
- Bucket
- Superglue
- Decoration (rocks, fake moss/grass)
These trees are meant to be unique and organic, not carbon copies. Therefore, I will not be giving exact measurements, only approximations.
Start gathering your materials, and find a wire to your liking. The thickness of the tree depends on the amount and thickness of the wire, so for a good sized tree (roughly the size of a mug) use 25-35 gauge wire. You will need to cut 50-150 even pieces of wire, to do this you can wrap the wire several times around a bucket and cut the wire in the middle or do it by hand. These pieces can vary in length depending on how curvy or tall you want it to be, but typically I cut them 10-18 inches long.
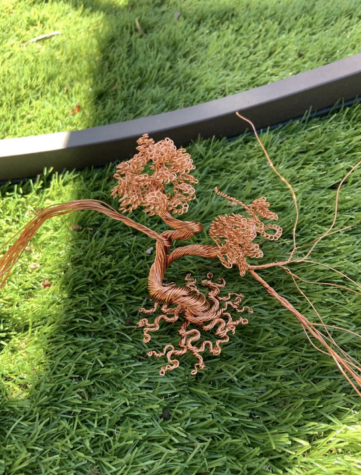
Next, you will take your bundle of wire and straighten it out. We will be creating the trunk now.
Leave some space at the bottom for the roots and start twisting the wire and bending it at the same time. While doing this take out multiple small groupings of wire, these will become the branches. Stop twisting a couple of inches from the top. Now that you have the trunk, form the branches. Take the small group of wire and twist it, but as you progress take out pieces until it resembles a branch.
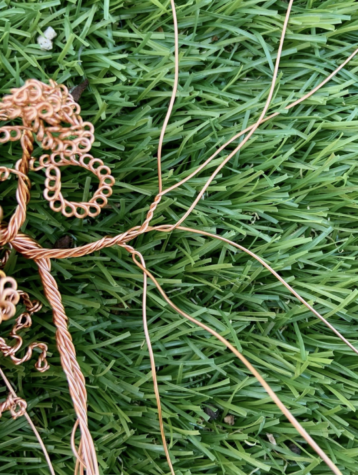
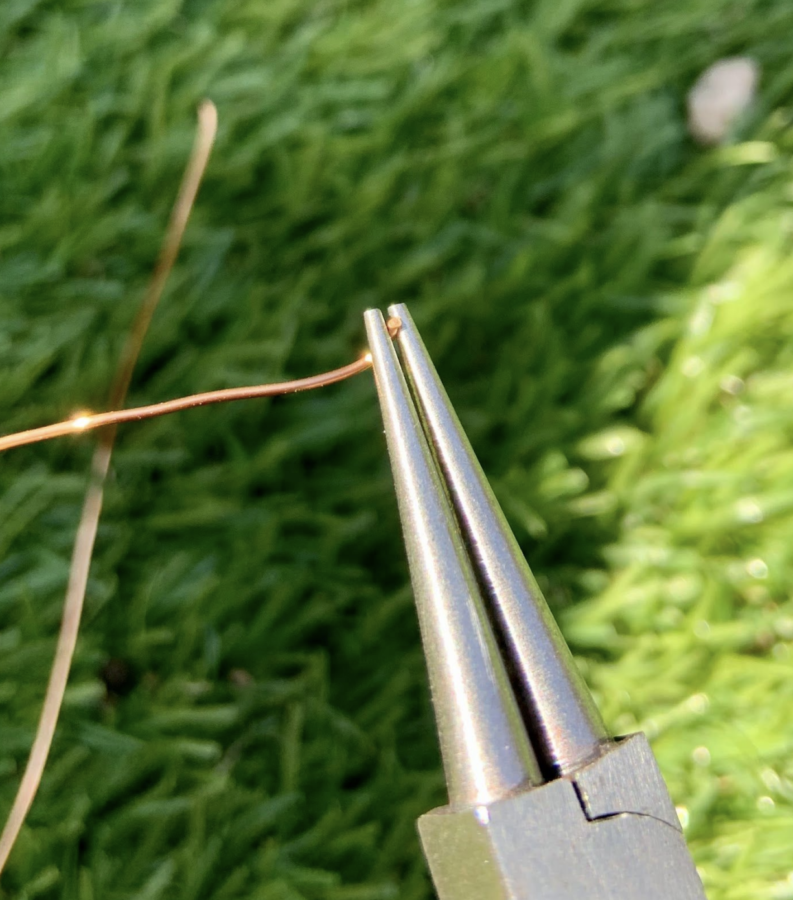
Almost done! This part can be a bit tricky, but don’t give up. It’s time to make the leaves. This part requires your round nose pliers. You will start at the tip of the wire and pinche it in between the pliers. Twist the wire around until it makes a small loop. Next, you will move the pliers right below the loop and twist the wire in the same direction until it makes another loop. You will repeat this process until you reach the base/branch. Next, you are going to curl this string of loops inward.
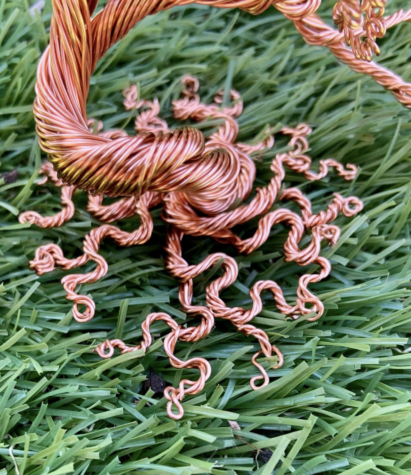
All you have left to do is create the roots. Repeat the same process for the branches and instead of making loops at the end, just curl them.
For those who want to add some flare, you could add things like a base, which could be a rock, a mug, a small vase, or even a coaster. You can super glue it on and add fake grass, moss, or anything else you can imagine! Be creative! Don’t worry about mistakes because this is a tree, and there is no such this as a perfect tree! These wire trees are supposed to look organic and unique, so there aren’t many rules! Do whatever you’d like and experiment with the shape, size, lengths and thickness of the trees. If you aren’t feeling too creative you can try to replicate a picture of a tree or a tree outside. Please be careful while handling the wire, because the tips can cut you and mind your eyes as well. I recommend using cut resistant gloves.
I’ve included links down below, if you wanted some other resources.
https://www.google.com/amp/s/www.insider.com/making-bonsai-tree-sculptures-by-bending-met al-wire-2019-9%3famp



Cheryl • Jun 18, 2022 at 2:40 pm
You’re awesome! Love the instructions and breaks! Definitely geared to my ADHD! Thanks so much
Susan • Feb 23, 2022 at 12:39 pm
Enjoyed the comedy relief from this tedious task❣️
Jean • Nov 13, 2021 at 3:05 pm
Love your video!